Learn how to use Kaseya to link your computer with your client's computer!
Kaseya is a software that allows creating a remote connection between your computer and the client’s computer, which is super helpful for proctored exams because that way, we can establish a secure connection with the client to help with the exam.
Kaseya is only compatible with Windows computers. For Mac users, you should use another remote connection software such as GetScreen (read our blog about this software to learn more).
Kaseya and Proctored Services
Kaseya is compatible with almost every proctoring service that doesn’t cut the internet when doing the exam. Such as:
- LockDown Browser
- Proctorio
- Honorlock
- Examity
**We suggest you use Kaseya only for clients that are going to take the exam using LockDown Browser and leave the other services for GetScreen**
How to Install Kaseya
IMPORTANT: If you live in Venezuela, you must use CyberGhost VPN to access the Kaseya server since its access is currently blocked for Venezuelan IPs. Thus, make sure to have your VPN on when following all the steps below.
- Open Google Drive with your company email.
- Go to the "Team Resources" folder and then open the "Kaseya" folder.
- Click “KaseyaLiveConnect_November30_2020.exe”.
You'll see the following screen, make sure to click "download"
You'll then see the downloaded file at the lower left of your screen, make sure to click it
After that, click "Install"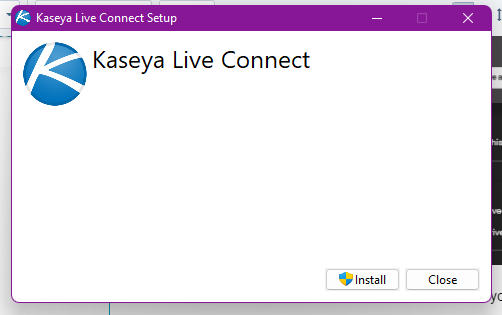
- The installation will start.
Let's Begin!
Once it is installed, search “Live Connect” in the Windows bar to see the following screen:
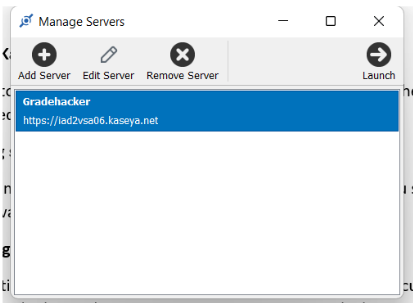
To add the server you're going to use for each specific exam, follow these steps:
- Go to Hubspot and copy the Portal URL that you can find under the credentials of the “Kaseya Server,” which can be found on Hubspot's contact list.
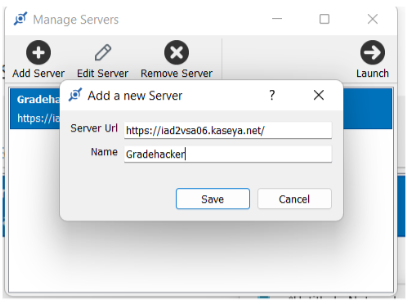
- Click “Add Server."
- Paste the link.
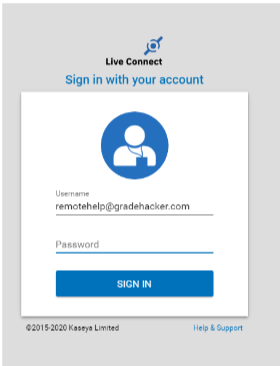
- Once you add the server, you need to double-click on the server, and then you will need to put the credentials found in Hubspot.
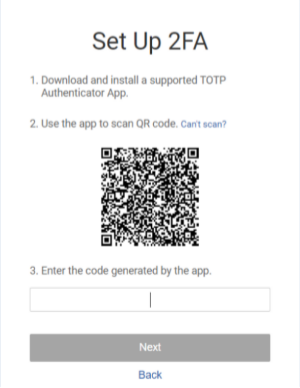
- After you enter the credentials, it will ask you for the authenticator code. You can get this code using the Google Authenticator App. For this purpose, you need to open the Google Authenticator and add the QR Code that Kaseya shows you. After that, enter the code generated by Google Authenticator below (see step 3 of image).
- Then, you will be able to enter Kaseya's Main Menu.
How to Establish Contact With the Client
Now that you have the Kaseya software, login information, and authenticator app, you have everything to create the connection. Once you are in the Main Menu, you need to click on the “Desktop” icon on the upper left side.
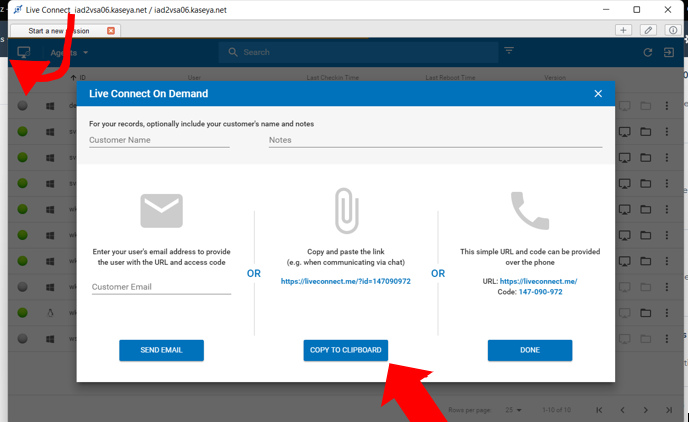
Once you click the desktop icon, a new window will pop up. Here you will click on “Copy to Clipboard.” It will be saved as a link in your clipboard.
Then email the client using a similar message to below and follow up with a message saying you have sent the instructions for the connection.
Hello [put the client’s name]
Please find below the link to start your remote connection
[paste the link you copied here]
Please download the software and install it on your computer. Once it is installed, please let me know so I can connect with you.
Best Regards,
[your name]
Now That You Are Connected
Now that you have sent the link to the client, you should wait for their answer to inform you that the software was successfully installed. You should see within the list of agents a “red-green” button that says “waiting for install,” as you see in the image below.

When the client successfully installs the software, you will see the computer's name, and the message “waiting for install” should have disappeared. If you cannot see the connection yet, you should close the tab “Start a new session,” It will automatically load the tab again for you to check if the client is already connected.

Once you have made sure the client is connected, click on “Connect” (see the red square in the image above), and now you will see the windows as shown in the image below.

In this new window, you will be able to see the tech specs of the client’s computer, and now you are able to enter the client’s desktop. You will enter the computer by double-clicking on the first rectangle shown in the windows with the client’s computer (see the red square in the image above). Once you double click, you have full access to the client’s computer:

At this point, you can control the client’s computer by controlling the mouse and keyboard.
Now, it is time to take the proctored assessment. Good luck!
Bonus - The Client's Installation POV
If you are interested in knowing how it looks when you send the link to the client, here is the explanation of that process. Once the client opens the link you sent, this will be the website the client will see. An automatic download will start, and then the client will need to double-click on the new file just downloaded to install it.
During this installation, the client will see bar progress indicating how much it remains for the installation. After the installation is complete, this bar will disappear, and it will say that the installation/connection was successful.
